Ansible自动化部署安装openGauss 3.1.0 企业版
一、背景
由于IT建设的快速发展,当数据中心业务突增,需要快速部署多套的数据库时,给运维工作带来了不小的压力和挑战,作为运维人员该如何面对这种困境呢?另外由于个人的习惯等也会导致所部署的环境不一定与规划完全一致,那么对以后的运维也会产生一定的负面影响。很显然,这种传统的方式已经无法适应当前的情景了,自动化运维应运而生,ansible在自动化运维和devops 的应用中崭露头角。
本文基于ansible工具实现 openGauss 的一键批量部署,传统的部署方式是先修改系统配置、安装依赖包、创建omm用户和组、配置环境变量、上传安装包以及解压、安装等步骤。
按照这个流程和思路,我们把这些操作弄成剧本编排(playbook),交给ansible来做。
二、环境准备
2台主机:
一台为Ansible的管理主机(10.10.10.142),操作系统为CentOS Linux release 7.9.2009 (Core);
另外一台为需要部署openGauss的主机(10.10.10.150),操作系统为CentOS Linux release 7.9.2009 (Core)。
三、具体实施步骤
3.1、安装ansible
–在10.10.10.142上进行安装Ansible
yum install epel-release -y
yum install ansible –y
–配置/etc/ansible/ansible.cfg
grep -v '^#' /etc/ansible/ansible.cfg |sed '/^$/d'[defaults]host_key_checking = Falsecallback_whitelist = timer,profile_roles,log_playslog_path = /var/log/ansible.logstrategy = freebin_ansible_callbacks = True[inventory][privilege_escalation][paramiko_connection][ssh_connection][persistent_connection][accelerate][selinux][colors][diff][callback_log_plays]log_folder=/tmp/ansible/hosts/
3.2、配置主机清单
修改主机清单/etc/ansible/hosts,添加主机列表
# cat /etc/ansible/hosts[openGaussdb]10.10.10.150 ansible_ssh_user=root ansible_ssh_pass=123456
10.10.10.150为本次需要安装openGauss的主机
3.3、测试主机连通性
ansible -i /etc/ansible/hosts openGaussdb -m ping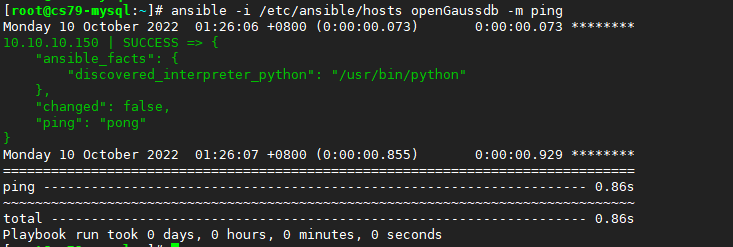
3.4、创建相关目录
[root@cs79-mysql:~]# cd /etc/ansible/roles/
[root@cs79-mysql:/etc/ansible/roles]# mkdir -p openGauss_Install/{files,vars,tasks,templates}
[root@cs79-mysql:/etc/ansible/roles]# tree openGauss_Install/
openGauss_Install/
├── files
├── tasks
├── templates
└── vars
4 directories, 0 files
上述目录主要作用如下:
files:存放需要同步到异地服务器的安装文件或者配置文件;
tasks:openGauss安装过程需要进行的执行的任务;
templates:用于执行openGauss安装的模板文件,一般为脚本;
vars:安装openGauss定义的变量;
3.5、下载openGauss软件包到files目录
安装包下载地址:https://opengauss.org/zh/download.html
[root@cs79-mysql:/etc/ansible/roles]# cd openGauss_Install/files/
[root@cs79-mysql:/etc/ansible/roles/openGauss_Install/files]# # wget https://opengauss.obs.cn-south-1.myhuaweicloud.com/3.1.0/x86/openGauss-3.1.0-CentOS-64bit-all.tar.gz
–2022-10-09 21:42:01-- https://opengauss.obs.cn-south-1.myhuaweicloud.com/3.1.0/x86/openGauss-3.1.0-CentOS-64bit-all.tar.gz
Resolving opengauss.obs.cn-south-1.myhuaweicloud.com (opengauss.obs.cn-south-1.myhuaweicloud.com)… 121.37.63.38, 139.159.208.64, 139.159.208.243
Connecting to opengauss.obs.cn-south-1.myhuaweicloud.com (opengauss.obs.cn-south-1.myhuaweicloud.com)|121.37.63.38|:443… connected.
HTTP request sent, awaiting response… 200 OK
Length: 123022609 (117M) [application/gzip]
Saving to: ‘openGauss-3.1.0-CentOS-64bit-all.tar.gz’
100%[==================================================================================================================================================================================================>] 123,022,609 38.4MB/s in 3.2s
2022-10-09 21:42:04 (37.1 MB/s) - ‘openGauss-3.1.0-CentOS-64bit-all.tar.gz’ saved [123022609/123022609]
3.6、创建变量文件
[root@cs79-mysql:~]# vi /etc/ansible/roles/openGauss_Install/vars/main.yml
#安装包名称
openGauss_software: openGauss-3.1.0-CentOS-64bit-all.tar.gz
#解压目录
install_dir: /opt/software/openGauss
#omm用户密码
omm_password: openGauss@123
#数据库密码
db_password: openGauss@123
3.7、创建安装时需要的xml模板
[root@cs79-mysql:~]# vi /etc/ansible/roles/openGauss_Install/templates/cluster_config.j2
<?xml version="1.0" encoding="UTF-8"?><ROOT><!-- openGauss整体信息 --><CLUSTER><!-- 数据库名称 --><PARAM name="clusterName" value="dbCluster" /><!-- 数据库节点名称(hostname) --><PARAM name="nodeNames" value="{{ ansible_hostname }}" /><!-- 数据库安装目录--><PARAM name="gaussdbAppPath" value="/opt/huawei/install/app" /><!-- 日志目录--><PARAM name="gaussdbLogPath" value="/var/log/omm" /><!-- 临时文件目录--><PARAM name="tmpMppdbPath" value="/opt/huawei/tmp" /><!-- 数据库工具目录--><PARAM name="gaussdbToolPath" value="/opt/huawei/install/om" /><!-- 数据库core文件目录--><PARAM name="corePath" value="/opt/huawei/corefile" /><!-- 节点IP,与数据库节点名称列表一一对应 --><PARAM name="backIp1s" value="{{ inventory_hostname }}"/></CLUSTER><!-- 每台服务器上的节点部署信息 --><DEVICELIST><!-- 节点1上的部署信息 --><DEVICE sn="1000001"><!-- 节点1的主机名称 --><PARAM name="name" value="{{ ansible_hostname }}"/><!-- 节点1所在的AZ及AZ优先级 --><PARAM name="azName" value="AZ1"/><PARAM name="azPriority" value="1"/><!-- 节点1的IP,如果服务器只有一个网卡可用,将backIP1和sshIP1配置成同一个IP --><PARAM name="backIp1" value="{{ inventory_hostname }}"/><PARAM name="sshIp1" value="{{ inventory_hostname }}"/><!--dbnode--><PARAM name="dataNum" value="1"/><PARAM name="dataPortBase" value="26000"/><PARAM name="dataNode1" value="/opt/huawei/install/data/dn01"/><PARAM name="dataNode1_syncNum" value="0"/></DEVICE></DEVICELIST></ROOT>
3.8、创建任务文件
[root@cs79-mysql:~]# vi /etc/ansible/roles/openGauss_Install/tasks/main.yml- name: 关闭防火墙shell: systemctl disable firewalld.service && systemctl stop firewalld.serviceignore_errors: truetags: 01_os_syscfg- name: 关闭selinuxshell: sed -i 's/SELINUX=enforcing/SELINUX=disabled/g' /etc/selinux/configignore_errors: truetags: 01_os_syscfg- name: 设置时区shell: timedatectl set-timezone Asia/Shanghaitags: 01_os_syscfg- name: 关闭RemoveIPClineinfile:path: /etc/systemd/logind.confstate: presentline: "RemoveIPC=no"tags: 01_os_syscfg- name: 重启systemd-logind服务shell: systemctl daemon-reload && systemctl restart systemd-logindtags: 01_os_syscfg- name: 创建组group: name=dbgrp gid=2000tags: 02_user_add- name: 创建用户user:name=omm uid=2000 group=dbgrptags: 02_user_add- name: 修改密码shell: echo "{{omm_password}}" | passwd --stdin ommtags: 02_user_add- name: 新建目录file: path="{{item}}" state=directory mode=0755 owner=omm group=dbgrpwith_items:- /opt/software/- /opt/software/openGausstags: 03_unzip_db- name: 上传安装包copy: src={{openGauss_software}} dest={{install_dir}} owner=omm group=dbgrp mode=0644tags: installtags: 03_unzip_db- name: "解压软件包"shell: cd {{install_dir}} && tar -zxvf *all.tar.gz && tar -zxvf *om.tar.gzbecome: yesbecome_user: ommtags: 03_unzip_db- name: "安装依赖包"yum: name="libaio-devel,flex,bison,ncurses-devel,glibc-devel,patch,redhat-lsb-core,python3,bzip2,readline-devel,net-tools,tar,gcc,gcc-c++" state=installedtags: 04_os_yum- name: 替换python3版本shell: mv /usr/bin/python /usr/bin/python2_bak && ln -s /usr/bin/python3 /usr/bin/python && python -Vtags: 05_replace_py- name: 配置xml文件template: src=cluster_config.j2 dest={{install_dir}}/clusterconfig.xmltags: 06_config_xml- name: 执行预安装脚本shell: '{{install_dir}}/script/gs_preinstall -U omm -G dbgrp -X {{install_dir}}/clusterconfig.xml --non-interactive'register: preinstalltags: 07_pre_install- debug: var=preinstall.stdout_linesignore_errors: truetags: 07_pre_install- name: 检查预安装环境shell: '{{install_dir}}/script/gs_checkos -i A -h {{ ansible_hostname }} --detail'register: checkostags: 08_check_os- debug: var=checkos.stdout_linesignore_errors: truetags: 08_check_os- name: 更改权限shell: chmod -R 755 {{install_dir}}tags: 09_gs_install- name: 执行gs_installshell: su - omm -c "{{install_dir}}/script/gs_install -X {{install_dir}}/clusterconfig.xml --gsinit-parameter="--pwpasswd={{db_password}}""register: gsinstalltags: 09_gs_install- debug: var=gsinstall.stdout_linesignore_errors: truetags: 09_gs_install- name: 启动数据库shell: ss -anpt|grep 26000 && su - omm -c "gs_ctl restart " || su - omm -c "gs_om -t start "tags: 10_db_start- name: "登录数据库"shell: ss -anpt|grep 26000 && su - omm -c "gsql -d postgres -p26000 -r -l"tags: 10_db_start
3.9、创建剧本调用文件
[root@cs79-mysql:~]# vi /etc/ansible/playbook/InstallopenGauss.yml- name: Install openGausshosts: openGaussdbremote_user: rootroles:- openGauss_Install
四、执行自动化安装
4.1、校验语法
# ansible-playbook -C /etc/ansible/playbook/InstallopenGauss.yml
校验语法通过后,执行下一步安装
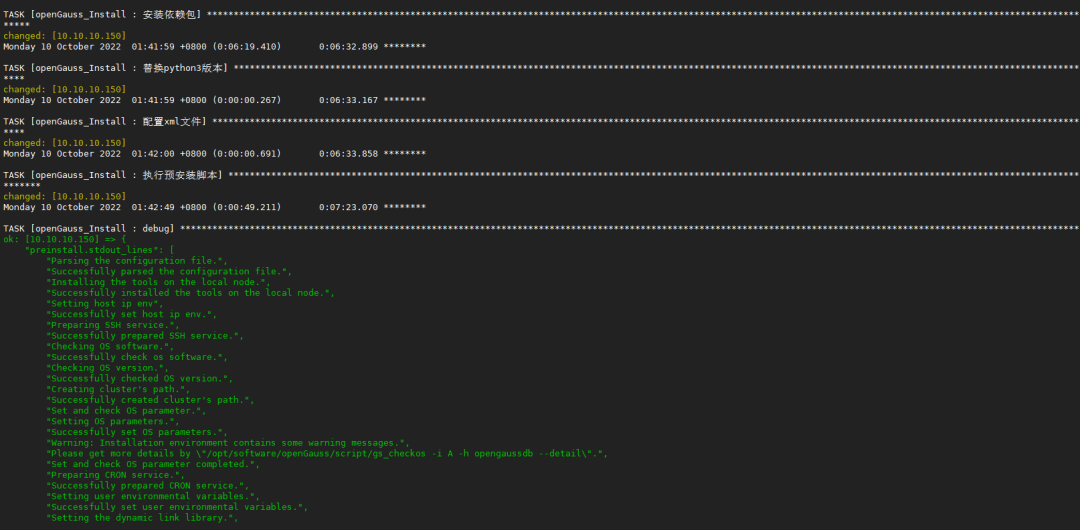
4.2、自动化安装openGauss
# ansible-playbook /etc/ansible/playbook/InstallopenGauss.yml
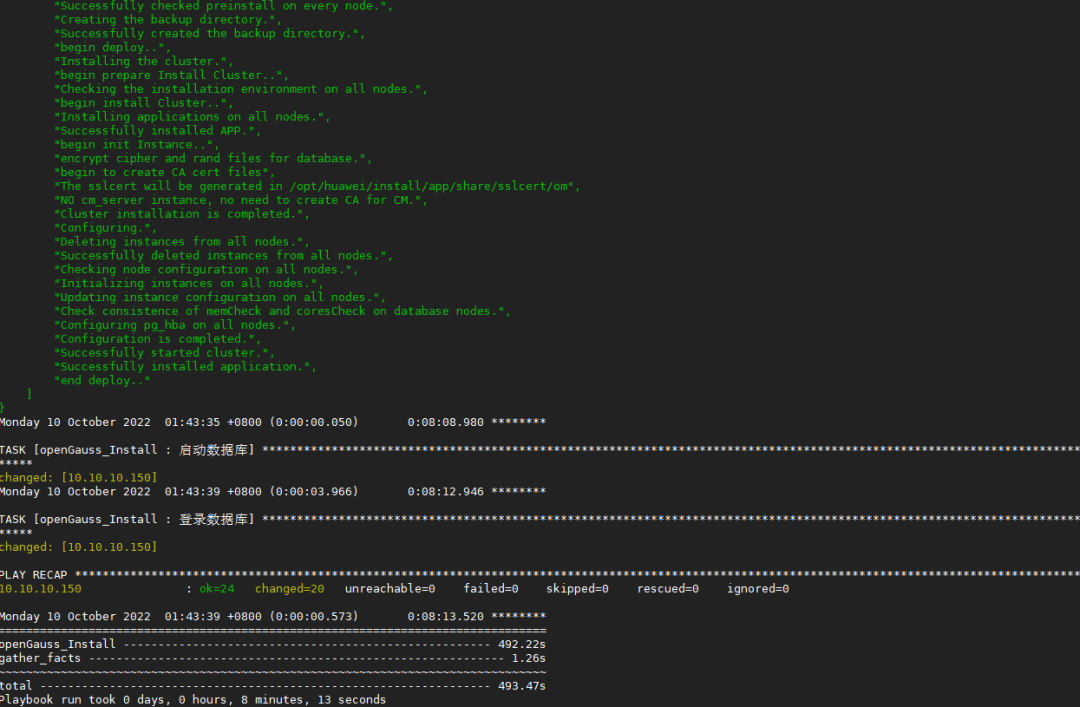
4.3、安装完成后验证
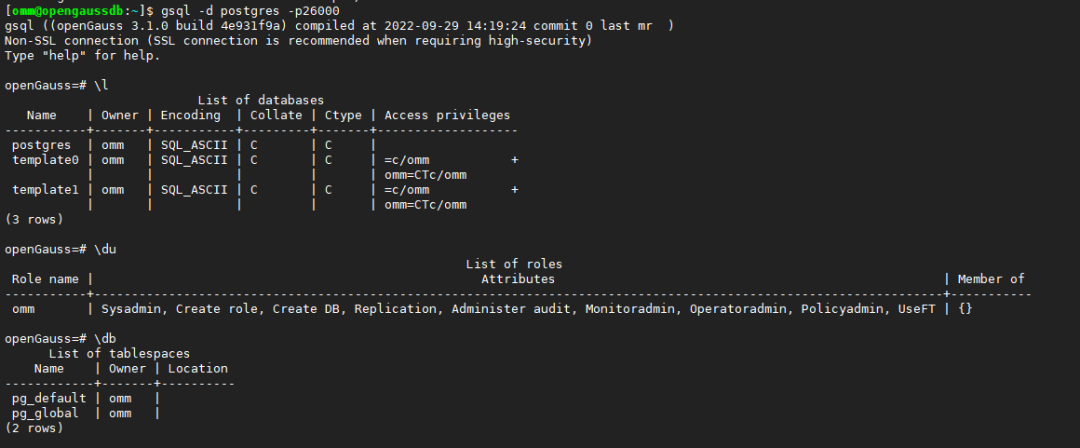
至此,整个自动化部署openGauss完毕,如果有多台机器需要部署,添加主机相关信息到/etc/ansible/hosts,再执行ansible-playbook即可。
如果您发现该资源为电子书等存在侵权的资源或对该资源描述不正确等,可点击“私信”按钮向作者进行反馈;如作者无回复可进行平台仲裁,我们会在第一时间进行处理!
- 最近热门资源
- 统信桌面专业版【全盘安装UOS系统】介绍 28
- 银河麒麟桌面操作系统备份用户数据 22
- 银河麒麟桌面操作系统安装佳能打印机驱动方法 17
- 银河麒麟桌面操作系统 V10-SP1用户密码修改 16
- 最近下载排行榜
- 统信桌面专业版【全盘安装UOS系统】介绍 0
- 银河麒麟桌面操作系统备份用户数据 0
- 银河麒麟桌面操作系统安装佳能打印机驱动方法 0
- 银河麒麟桌面操作系统 V10-SP1用户密码修改 0

prtyaa 收益393.62元

zlj141319 收益217.55元

1843880570 收益214.2元

IT-feng 收益208.98元

风晓 收益208.24元

777 收益172.71元

Fhawking 收益106.6元

信创来了 收益105.84元

克里斯蒂亚诺诺 收益91.08元

技术-小陈 收益79.5元